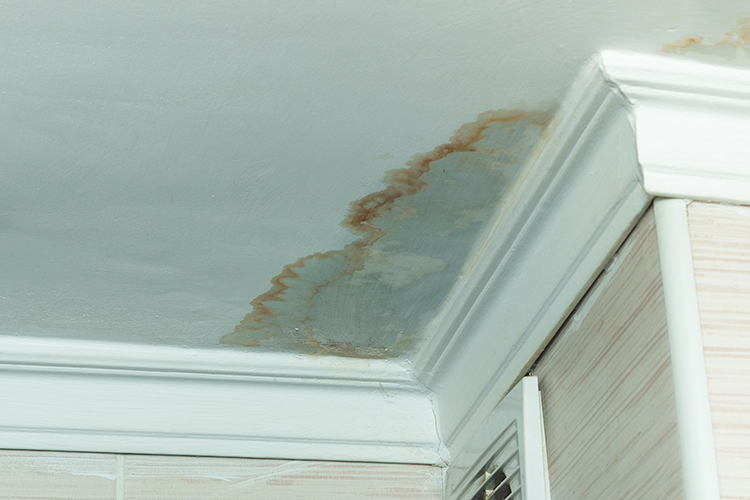
A leaky roof is more than just a minor inconvenience. This is a serious problem that can lead to significant damage if left unchecked.
Whether it’s a small drip or a larger leak, the consequences can be costly. A leak may result in water stains on your walls, damaged insulation, rotting wood, or even mold growth. The longer you wait to fix a leaky roof, the more expensive and extensive the repairs will become.
The good news is that not all roof leaks require a professional roofer to fix. In many cases, homeowners can address the issue themselves with a bit of know-how and the right tools. From identifying the source of the leak to replacing damaged shingles, there are several steps you can take to stop the water from seeping into your home.
This guide will walk you through nine tips for leaky roof repair. These tips range from simple DIY repairs to signs that it’s time to call in the experts. By following these tips, you can extend the life of your roof, prevent further damage, and keep your home safe and dry. Let’s look at the steps you need to take to repair a roof leak and get your roof back in its ideal condition.
1. Identify the Leak’s Source
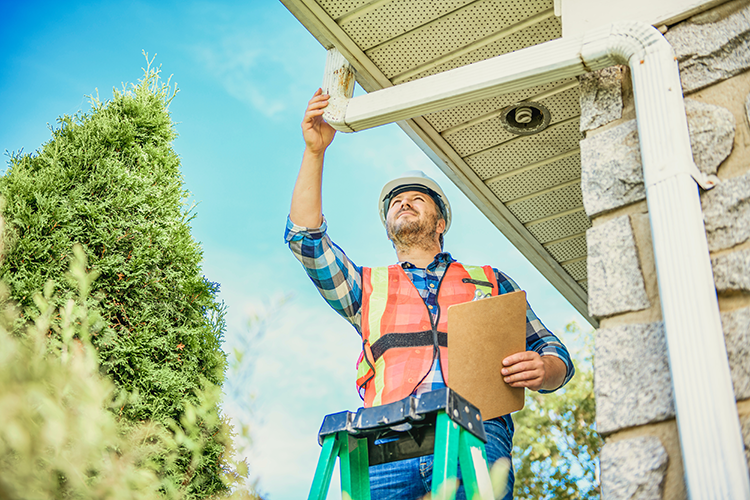
Before you can fix the leak, you need to pinpoint its exact source. Leaks don’t always occur directly above the water damage you see indoors. Head up to your attic or the area directly under the roof and look for water marks, mold, or puddles.
If the weather is dry, you can also check for missing shingles or damaged roofing materials from the outside. Pay special attention to the flashing around chimneys, vents, and skylights, as these are common leak points. By examining both the interior and exterior, you’ll have a better idea of where the water is entering. This will help you determine the best repair method.

2. Check the Shingles
Damaged or missing shingles are one of the most common causes of a leaking roof. Inspect your roof for cracked, curled, or missing shingles. If you spot any, they will need to be replaced. Be sure to choose shingles that match the existing ones in color and size.
If the shingles are simply loose, you can re-secure them with roofing nails or adhesive. For loose shingles that aren’t severely damaged, carefully lift the shingle and apply roofing cement or adhesive. Then, press it down firmly and nail it back into place. Be sure the nails are driven in at the correct angle to secure the shingle without damaging it further.
If you’re working on a sloped roof, always ensure that shingles are properly overlapped to prevent water from getting underneath.
Regularly checking and maintaining shingles can significantly extend the life of your roof and prevent future leaks.
3. Inspect Flashing Around Roof Fixtures
Flashing is a critical component of your roof’s waterproofing system. It’s typically made of metal, such as aluminum, copper, or galvanized steel.
Flashing is used to seal joints and seams around roof penetrations like chimneys, vents, skylights, and areas where the roof meets a wall or other structures. These areas are particularly vulnerable to leaks because they often create gaps or spaces where water can easily enter. Flashing helps direct water away from these joints and prevents it from seeping into the underlying structure.
Over time, flashing can deteriorate due to exposure to the elements. The elements can cause flashing to rust, crack, or even become detached from the roof. When this happens, water can seep into the roofing system, leading to leaks and potential water damage inside the home. Even minor gaps or cracks in flashing can become major entry points for water, especially during heavy rain or snowmelt.
To prevent leaks caused by damaged flashing, it’s important to inspect these areas carefully regularly. Look for visible signs of wear, such as rust spots, cracks, or pieces of flashing that have lifted away from the roof. Pay extra attention to the edges around chimneys, vents, and skylights. Flashing is commonly compromised in these places.
If you notice any damage, you’ll need to replace the flashing entirely. Or, reseal it to restore its protective function. For resealing, use high-quality roofing caulk or sealant designed specifically for flashing repairs. Apply it evenly along the seams.
If the flashing is too damaged to repair, replace it with new material that matches the original type and size.
4. Seal Gaps with Roofing Cement
If you’ve found small cracks or holes in your roof, roofing cement can help patch them up and prevent water from leaking through. Apply roofing cement to the affected area using a putty knife. Make sure to spread it evenly to cover the entire gap. For better adhesion, press the cement firmly into the crack or hole.
Roofing cement is ideal for sealing small holes caused by damaged shingles, flashing, or other roofing materials. Be sure to apply a thick enough layer to fill the gap completely. Avoid over-applying, as it can create an uneven surface. Once the cement dries, check the patch to ensure it’s secure and has fully sealed the area to prevent further leaks.


5. Repair or Replace Damaged Gutters
Clogged or damaged gutters can cause water to back up and seep under your roof, leading to leaks and water damage. To prevent this, clean out any debris such as leaves, twigs, or dirt from your gutters and downspouts to ensure proper drainage. If you notice any cracks, holes, or signs of wear in the gutter system, patch them with a waterproof sealant or replace the damaged sections.
Check that your gutters are securely attached to the fascia and slope correctly. This allow water to flow freely toward the downspouts. Properly maintained gutters help prevent water from pooling around the roofline and protect your home from long-term moisture damage.
6. Fix Vent and Pipe Boots
The rubber boots around vents and pipes are often overlooked but can degrade over time, leading to leaks. Check these areas for cracks or tears, especially around the base of pipes or vent pipes that extend through the roof. You can replace damaged vent boots with new ones or reseal them with roofing caulk.
7. Replace Damaged Underlayment
The underlayment is a protective barrier beneath your shingles that helps prevent leaks. If your underlayment has been damaged by wind or age, it may need to be replaced. This repair can be more complex and may require removing sections of roofing material. If you’re unsure, it’s best to consult a professional for this type of repair.
8. Use a Roof Sealant
A roof sealant can be a great way to create an additional layer of protection against leaks. Apply roof sealants as a liquid, spreading them across the entire roof or focusing on vulnerable areas, such as seams or flashing. Sealants work well for flat roofs or areas that are difficult to repair with shingles alone.
9. Know When to Call a Professional
While these tips can help with minor roof repairs, some issues are best left to the professionals. If you have a large area of damage, difficulty accessing your roof, or if you’re unsure of how to make a safe repair, it’s important to call a licensed roofing company. They have the tools, expertise, and experience to fix your roof properly and ensure they do it safely and correctly.
Additionally, a professional can assess underlying problems that may not be immediately visible. The professional can also provide a long-term solution to prevent future leaks.
Trying to handle extensive repairs without the right knowledge can sometimes lead to further damage, costing more in the long run.
Fix Your Leaky Roof Safely
Fixing a leaky roof can be a straightforward DIY project if you have the right tools and approach. By following these nine tips, you can keep your home safe and dry while saving money on costly professional repairs.
Remember, regular roof maintenance and timely repairs are key to avoiding bigger problems down the road. Always prioritize safety when working on your roof. When in doubt, call a professional to handle more complex repairs.


